Note
This guide is intended to help/guide beginner users in gaining familiarity with the WebTML environment, and understanding how exactly this Content Management System works.
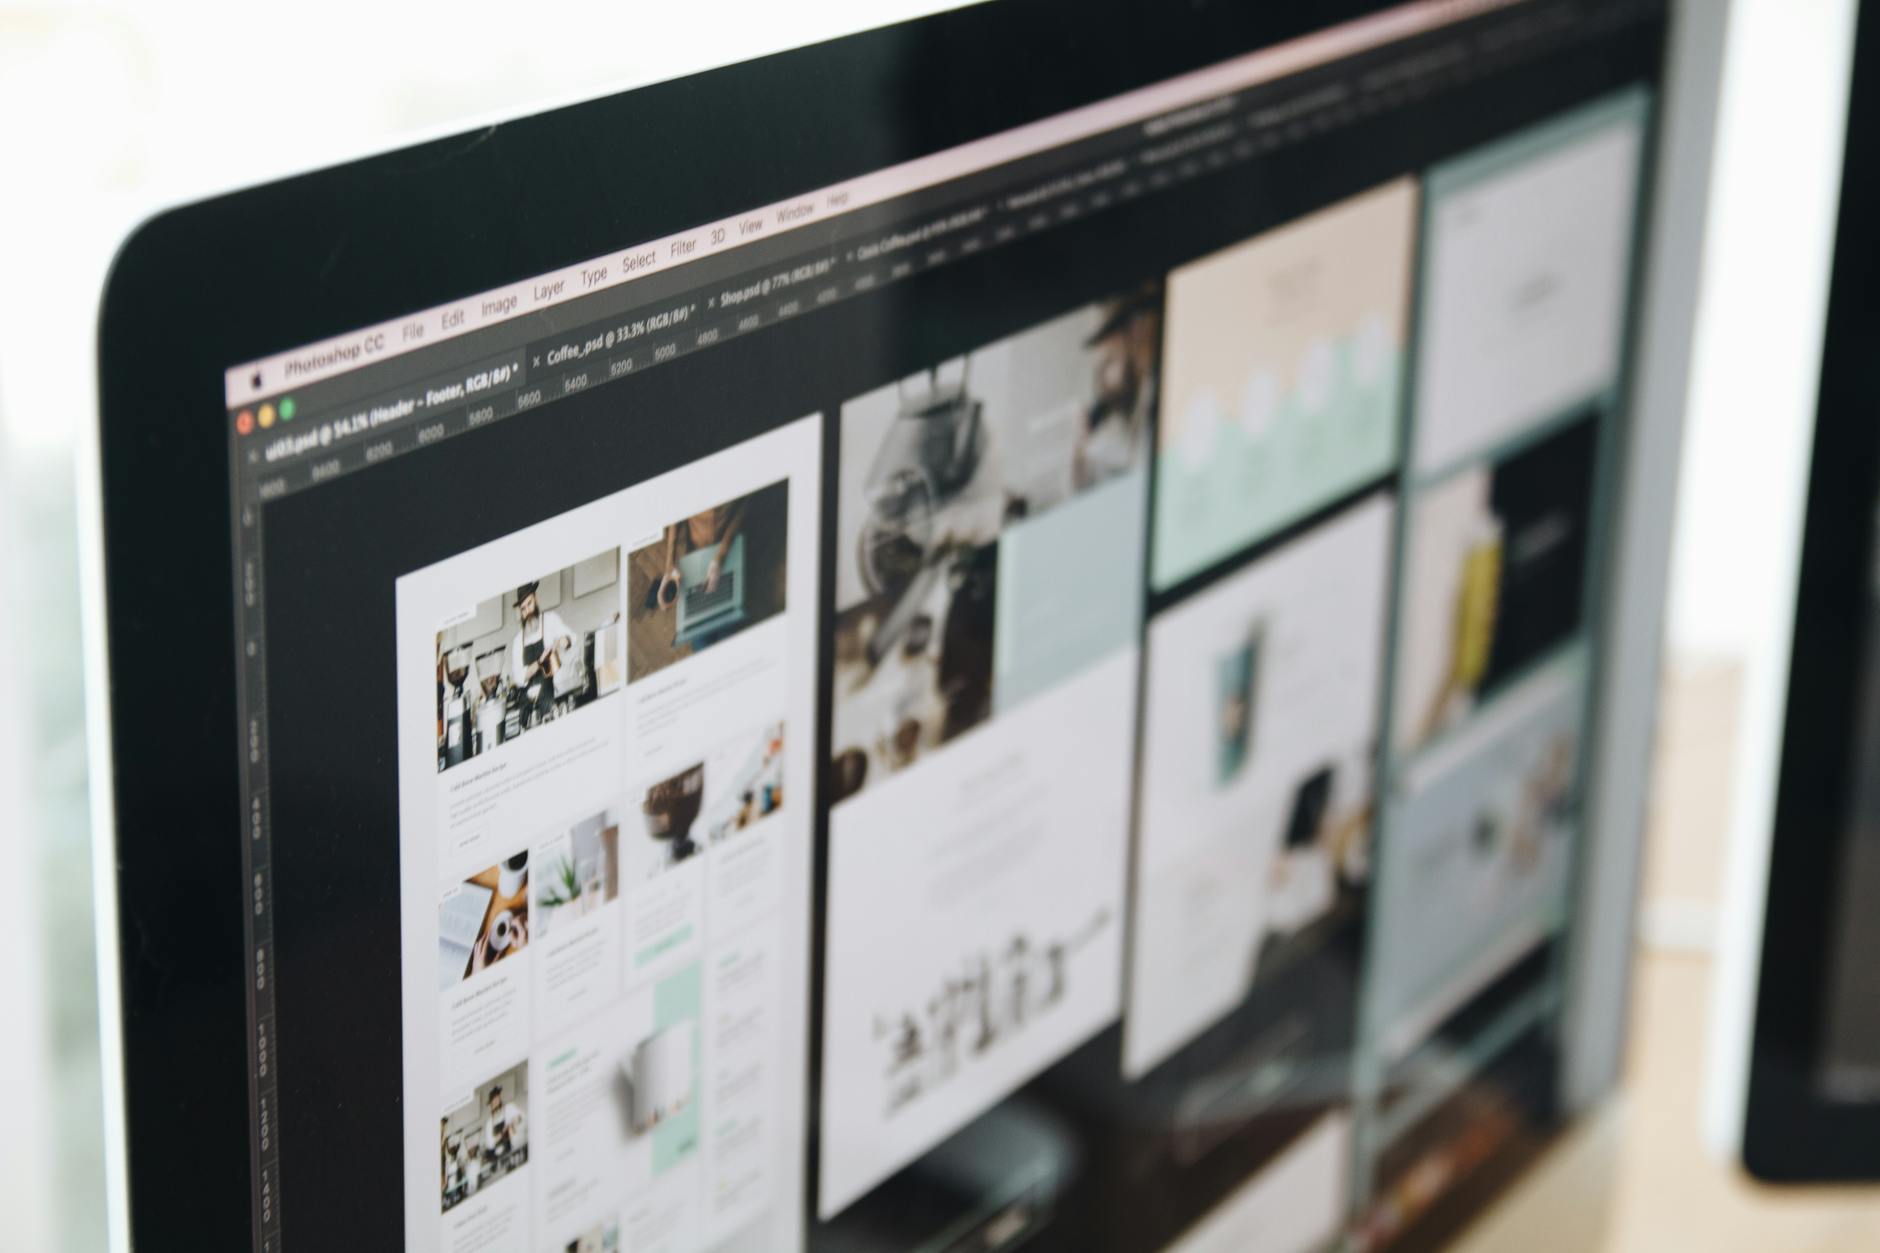
WebTML offers a powerful content management system (CMS) that caters to any business needs. Built with simplicity in mind, learn the concepts of WebTML to get started on building and customizing your site today.
To learn more about the WebTML development environment, feel free to download our entire Beginners Guide down below:
This guide is intended to help/guide beginner users in gaining familiarity with the WebTML environment, and understanding how exactly this Content Management System works.
Getting started with WebTML is quick and easy. At its core, WebTML is based on two main concepts: pages and items. The layout and content of both are editable and customizable to the user’s preferences. Therefore, any kind of site can be easily created and deployed with WebTML.
*Include an image to describe "items"
*Include an image to describe "pages"
Just like with any site, pages in WebTML are webpages, a document which can be displayed in a web browser. Each page can have its own layout and content. The different pages of a site can be configured to share an identical layout, a similar layout (consisting of some repeating elements), or a new layout entirely.
The image on the left is a contact page for a Real Estate company. Contact pages often consist of specific elements, such as: forms, maps, and general contact information of a company. As such, their overall layout often differs quite significantly from the other pages on the site.
In WebTML, a new page and page layout can be used to create this contact page. In doing so, it provides a dedicated space on the website to place the contact information, while also maintaining its unique design and functionality.
The same can be applied to other pages on the site. Within the listings page of the same site, a different layout can be created and used to organize the content.
Within WebTML, a new layout can be created for the purpose of displaying the listings page. The same layout can then be easily reused when more listing pages are added to the site. This particular listings page layout can also be
A Step-By-Step guide on how to create pages and configure a page layout can be found here.
In WebTML, items are known as the "building blocks” of a website. Any web component found on a website can be thought of as an Item. Just like with pages, Items have their own content and layout.
Items are essential to WebTML as they provide the following advantages:
Just like with any web component on a page, the individual listing block on the left can be a item. It has its own unique layout, content, and functionality.
In order to create an item, an Item Set must be created and defined. An Item Set acts as a base template of code for an item’s layout and functionality. With the code from a single Item Set, unique items and items that share similar a similar layout and functionality can be easily generated.
Once the structure of the ItemSet has been defined, CSS and Javascript can then be used to apply styling and functionality to the item.
The benefits of using Item Sets extend beyond creating a single item. Its base template of HTML, CSS, and Javascript code can be reused to create multiple items that share the same layout and functionality, but display different content. When an Item Set has been defined, this process can be done easily through the Edit menu, and without the need to write any extra code.
Image Goes Here (change to better quality)
As per the individual listing described earlier, its Item Set can be applied and reused to create more listings. Each one has its own unique content, but their appearance and functionality are identical.
Item Sets can also be created and nested within existing items. In doing so, users can continue to utilize the associated benefits with working with items, but at a more granular level.
Visit the How To Create Your First Item Set Section for a step-by-step guide on how to go about creating an Item Set.
Altogether, the items on the page form the individual, unique sections of a page. These sections are identical to web components, such as headers and galleries, which are seen across many websites. These sections, therefore, define the page’s overall layout.
It’s important to note that although they may be referred to as sections, theoretically, sections are still items with their own unique item sets. Aside from the page itself, any element created with a specific layout and functionality is considered to be an item, and can be referred to as so.
The WebMTL main control panel offers a set of tools and features to allow users to add, edit, and maintain their site. Any changes made with the main control panel will be applied at a page or site-wide level only.
As one continues to build their site on this CMS, they will notice that individual sections and items also have their own control panel (called the Admin panel).
Depending on the user’s permission level, certain buttons and/or features may not be accessible. See the WebTML Reference Page for more information.
To Learn more about the WebTML Main Control Panel, read the documentation written below:

The Edit This Page button allows user to a screen where they can edit or add content to the current page.
For more information about the specific features of this screen, visit this page (link to screen and tabs - section: Edit This Page). It covers the details on how a designer can go about navigating this specific screen.

The Add Page button enables users to add more pages to their website.
Any spaces added within the Name Field will be replaced with an underscore ( _ )

The Delete This Page button allows users to delete the current page they are on.
This option is not available for the home page of the site. Hence, this feature within the home page will be grayed out.


The Up One Level button redirects users to the parent of the current page.This feature is very beneficial to have with huge sites, which tend to have a lot of pages.
This feature is not available on the home page as the home page is considered to be the uppermost level with no parent. Hence, the top-level button will be grayed out.

The Edit Tables button provides a database of tables with a complete overview of all available users, item sets and pages within the entire site. It also provides a sense of functionality because it contains permissions which allow one to edit/delete their pages, page layouts, items, and item layouts.
For a more detailed overview on how to navigate the Tables Editor, refer to the documentation on Database of Tables.

The Manage Files button outlines the site’s file structure, and provides access to the site’s files, images, and assets. Users can also upload their own assets, files, or folders so that they can eventually be used throughout the site.
If you’re uploading a folder through the "Manage Files” Screen, it must be uploaded as a zipped folder and then later extracted within the system. Learn more about

The Site Settings button provides access to the sites configuration settings.
Depending on the user’s permission level, certain settings such as the built-in jQuery configuration tool may not be available to the user.
For more information on the Site Settings screen, see the documentation for Screens and Tabs - Site Settings for more information.

The Empty Cache Button clears the site’s cache. This feature is useful during development in which users may not see their changes immediately due to WebTML’s cached pages feature.

The Edit Page Layout Button allows users to define the general layout of the current page, and as well as include references and Javascript code that are applicable to all pages of the site.
For more information on the Edit Page Layout screen, see the documentation for Screens and Tabs - Edit Page Layout.

The Set Password Button allows users to configure user-specific settings, such as passwords, for their account.
For more information on the details of this screen, visit the Set Password - For Screens and Tabs page.

The Set Password Button allows users to configure user-specific settings, such as passwords, for their account.
The admin button provides a host of features that make it easy for the user to edit and configure their items. The admin button is available to all items (including sections) on the page.
The Admin button is denoted by the following icons: ![]()
![]()
Users can access the admin panel by hovering over the Admin button. The admin panel provides a set of similar features as the main control panel, but is specific to the Item Set it’s associated with. Learn more about the features of the admin panel below.
The Edit Button leads to a screen which allows users to set certain properties to the Item, (including the: parent, name, and content). Learn more about the Edit Screen Here.
The Add Item button allows users to add additional items based on the code within the Item Set.
The ability to add more items in your section becomes available once the first item has already been created. The easiest way to go about adding more items is by:
(1) Hovering Over the Admin Button of the Item You'd Like to Add
(2) Clicking on the "Add Item" Button
(3) And then, Pressing "Save And Close"
Even after adding an Item, the ability to edit its content/images/icons will always be available.
The Duplicate Button provides users with the ability to duplicate an existing item.
If the contents of the duplicated item (ex. text, images, links, etc…) are reflected by WebTML tags within the Item Set layout, users can change these values within the newly-duplicated item.
The Set As Favourite Button enables users to select certain items, and group them into a category known as Favourites
This category of Items can then be displayed if another Item Set is created and is filtered to show Items from the Favourites category.
The Order Items Button allows users to reorder the placement of the Items on the page.
This button is not available for Items that are filtered by the Item Set configuration of "Get Element By ID”. This includes items that were added from the Layout Builder.
The Show Table button provides an overview of all of the Items that were created within the site.
The Edit Item Set Button allows users to configure properties for the current Item Set.
Get a custom, secure, and easy-to-use website today from Web on Demand. Our advanced Web on Demand Content Management System (CMS) provides elegant and intuitive web solutions to meet your growing business needs.